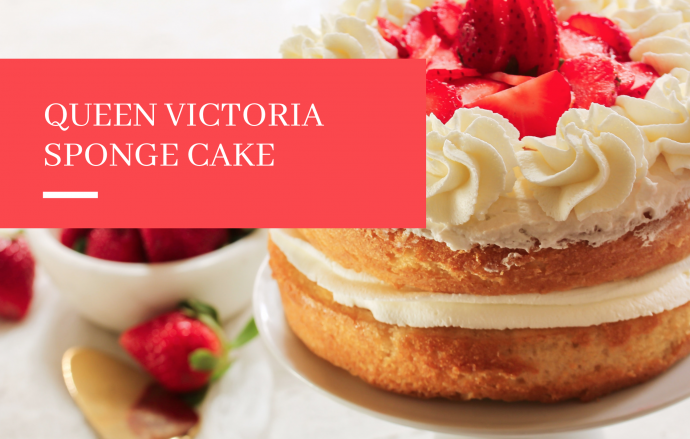
Queen Victoria Sponge Cake

If you’re looking for a fun Saturday afternoon activity or something tasty to make over the weekend, today I invite you to enjoy a simple and enjoyable Victoria sponge cake recipe for you to bake at home with the kids. Learn how to make a light and fluffy sponge that's filled with delicious jam.
A Victoria Sponge was the favorite sponge cake of Queen Victoria, and has since become a tried-and-true recipe for tea-time sponge cakes. Victoria Sponges are generally filled with jam, and are undecorated on the top, but you can serve each piece with a dollop of whipped cream, or shake some powdered sugar over the top if you'd like.
Ingredients
1 cup all-purpose flour
2 teaspoons baking powder
1/2 teaspoon salt
1 cup unsalted butter, at room temperature
1 cup sugar
2 large eggs, at room temperature
1 teaspoon vanilla extract
½ cup milk, at room temperature
Filling:
1/4 cup strawberry or raspberry jam
3/4 cup cold heavy whipping cream (cream with a 35-40% butterfat content)
Powdered Sugar
Directions
Step 1
Preheat oven to 400 degrees F. Grease an 8-inch pan.
Step 2
Sift the flour and baking powder into a medium bowl and set aside.
Step 3
Beat butter and sugar with a mixer until light and fluffy. The mixture should be noticeably lighter in color. Add room-temperature eggs one at a time, allowing each egg to blend into butter mixture before adding the next. Beat in vanilla. Pour in the flour mixture alternately with the milk, mixing until just incorporated. Pour batter into prepared pan.
Step 4
Bake in the preheated oven until a toothpick inserted in the center comes out clean, about 20 minutes. Cool the cake in the pan for 10 minutes, then turn the cake out onto a wire rack to cool completely.
Step 5
In a bowl whip the cream until stiff peaks form. Spread the whipped cream on top of the jam. Then place the second cake layer on top of the cream, top of the cake facing up. Dust the top of the cake with caster or powdered sugar.
Step 6
This cake can be served as is, just dusted with powdered sugar. Alternately, cut the cake in half horizontally and sandwich the layers together with jam or custard.
This cake can be stored in the refrigerator for about 3 to 4 days.
Bon appetit!


The recipe calls for ONE prepared pan. Then it talks about two layers. At the end of the recipe it mentions splitting “one” layer. It’s a little confusing. Although I’m a long time cook and baker, I already knew about splitting the layer or doubling the recipe to make two layers, a new baker may not think of this. Let’s face it, not all new cooks and bakers will read the entire recipe before they dive right in. One other thing, your cake is decorated beautifully and you could have included the recipe for a whipped cream frosting for the top. Otherwise the recipe is great and very delicious as well as being extremely easy.