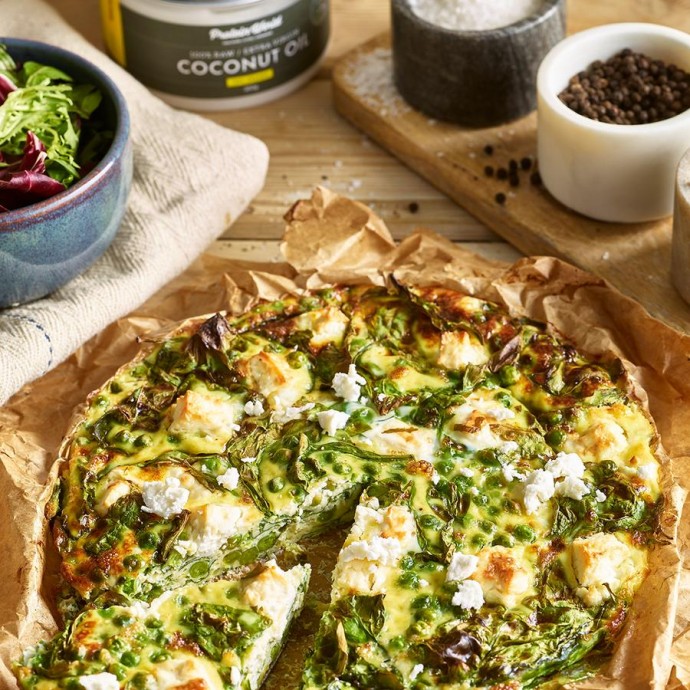
Green Pea & Feta Quiche

Quiche isn’t at all difficult or time-consuming to make. Perfect for lunch, brunch or light dinner – old-fashioned quiche never goes out of fashion. This version uses fresh mint in (and on) this quiche—a classic complement to the flavors of both peas and feta—really makes it special. The best kind of peas to use here are the small ones called “petit pois” or “tender tiny peas”. The varieties of this dish are endless by changing the contents and the cheese. You may find another favorite.
Ingredients
For the pastry
225g plain flour, plus extra to dust
125g cold unsalted butter, diced
25g Pecorino Romano cheese, finely grated (optional)
1 tbsp fresh thyme leaves, finely chopped
For the filling
15g butter
3 large spring onions, trimmed and thinly sliced
300g frozen peas
200ml full-fat crème fraîche
100ml double cream
3 large eggs, lightly beaten
1 small bunch fresh mint
¾ cup (packed) crumbled feta cheese
Directions
Step 1
For the pastry, put the flour, butter and ½ teaspoon salt into a food processor and whiz, or rub together by hand in a bowl. Add the cheese and chopped thyme, then add 2-2½ tablespoons ice-cold water. Mix briefly until the pastry comes together into a ball.
Step 2
Thinly roll out the pastry on a lightly floured surface and use to line a 23 cm (measured across the base) x 3.5cm deep loose-bottomed flan tin. Prick the base with a fork and chill for 20 minutes.
Step 3
Adjust the oven rack to the center position and preheat the oven to 375°F.
Step 4
Put the peas in a colander and run them under room-temperature water to defrost. Leave for 2 minutes, until they have thawed, then drain, rinse in cold water, and dry well on a clean tea towel.
Step 5
Pull about 10 mint leaves from the bunch, and cut them into thin strips with a sharp knife. Set aside the rest of the bunch for garnishing.
Step 6
For the filling, melt the butter in a small frying pan, add the spring onions, season lightly and cook for a couple of minutes until they soften. Leave to cool slightly. Mix the crème fraîche, double cream and eggs together in a bowl with some salt and pepper to taste. Shred the rest of the mint and stir the chopped mint leaves into the egg mixture with the peas, the spring onions, crumbled feta and some seasoning to taste.
Step 7
Pour the egg mixture carefully over the feta and peas, filling the crust right up to the top. (If there’s any extra, you can save it to add to your scrambled eggs for tomorrow’s breakfast.)
Bake for about 45 min or until the crust is golden, the filling is puffed up, and the surface feels tender but solid when you (carefully) touch it with a fingertip. If the edges of the crust become too dark before the hour is up, cover the quiche very loosely with foil to protect it. During this time, cut the remaining mint leaves into thin strips to sprinkle over each serving.
Remove from the oven and leave to cool slightly before serving, with the reserved peas and mint sprigs scattered on top.
Serve it warm with a crunchy green salad.
Tips
Drain and chop a few marinated roasted peppers or sun-dried tomatoes and add these along with the scallions.
Accompany this with sliced tomatoes drizzled with olive oil and sprinkled with coarse salt and oregano. Or serve it with a big salad; Greek Salad is a fantastic match.
You can make these quiches up to 1 day ahead. Store in an airtight container in the fridge.


